Setup guide · Gateway
Inst8 SMS Gateway setup
Get your inst8 account, your Android device and your SIM card paired and sending in about ten minutes. No Twilio. No A2P registration. No compliance hoops.
Step-by-step
- 1
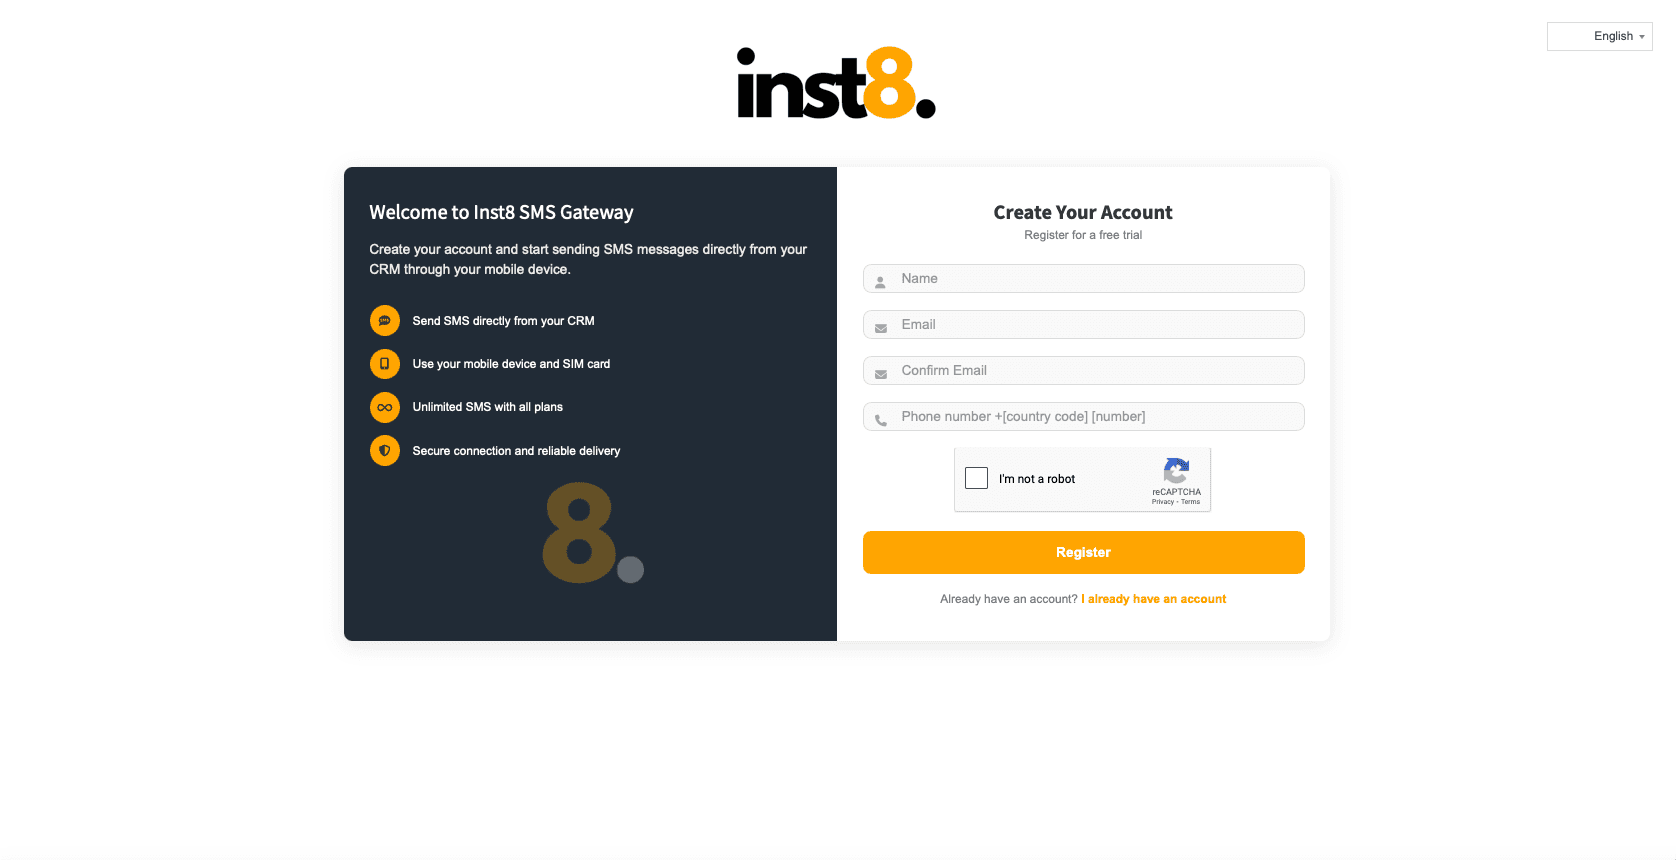
Register your account
Go to inst8.com, click ‘Register For A FREE Trial’, enter your name, email and mobile (with country code), complete reCAPTCHA, submit.
- 2
Check your email
Inst8 will send your login credentials. Username = the email you registered with.

- 3
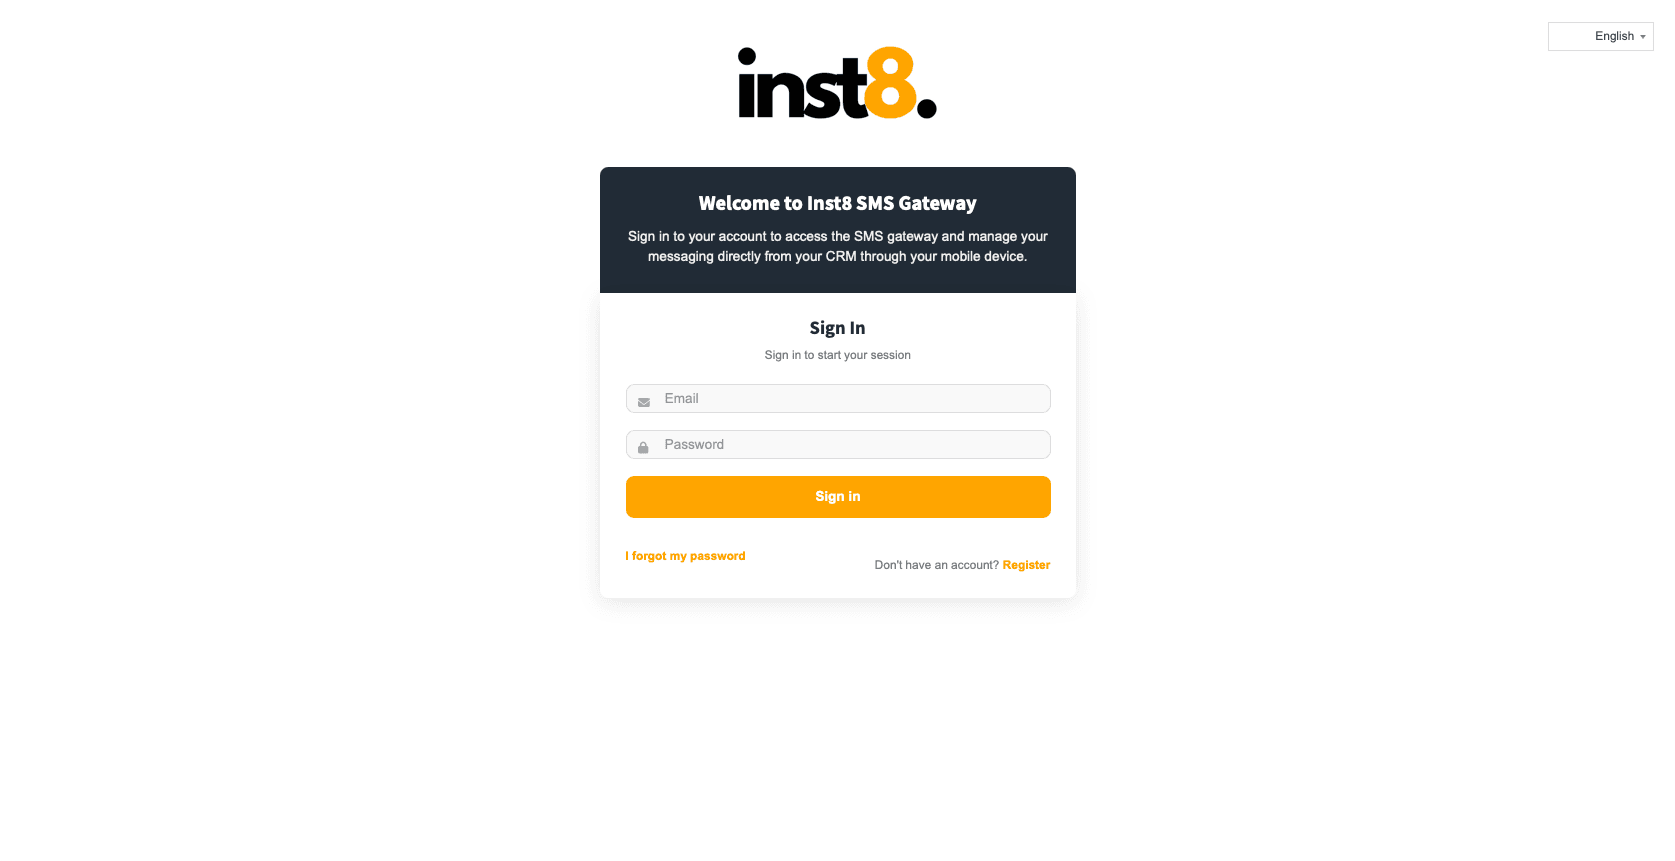
Sign into the dashboard
Visit inst8-sms.com and sign in with the credentials from the email.
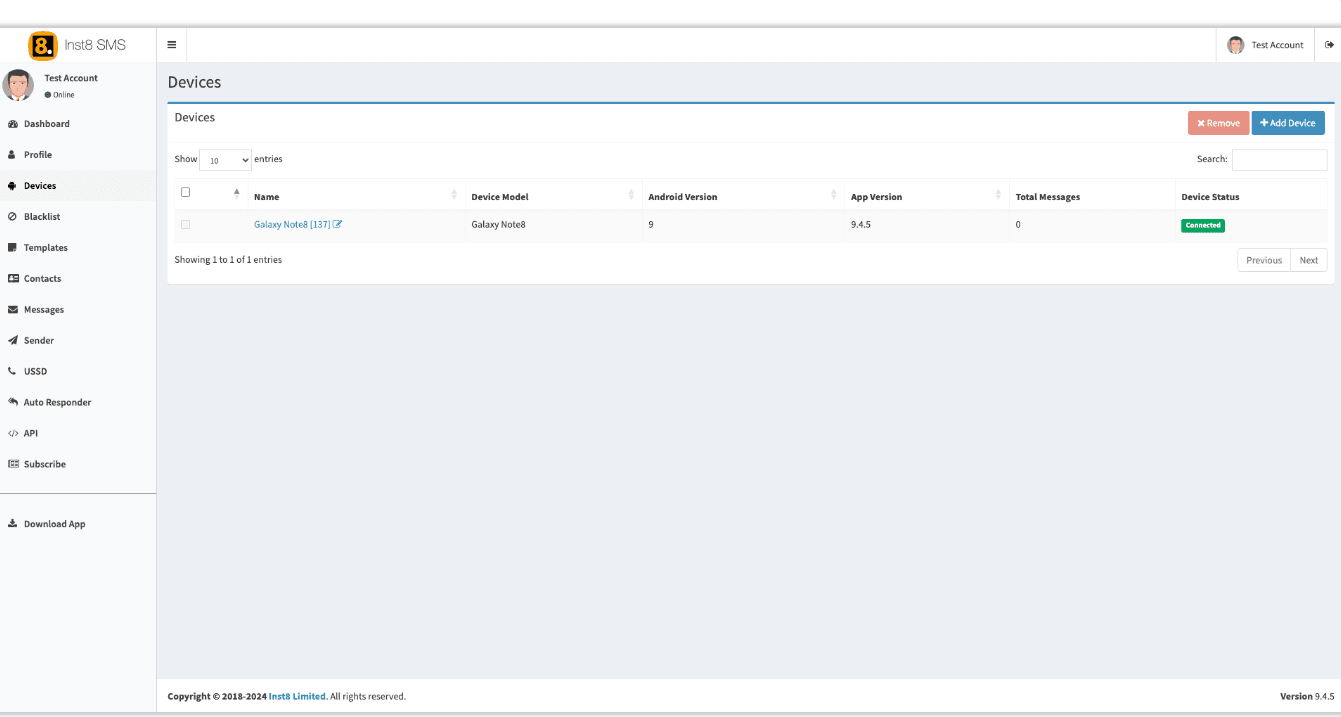
- 4
Add an Android device
Click ‘Devices’ in the sidebar, then ‘+ Add Device’ in the top right.
- 5
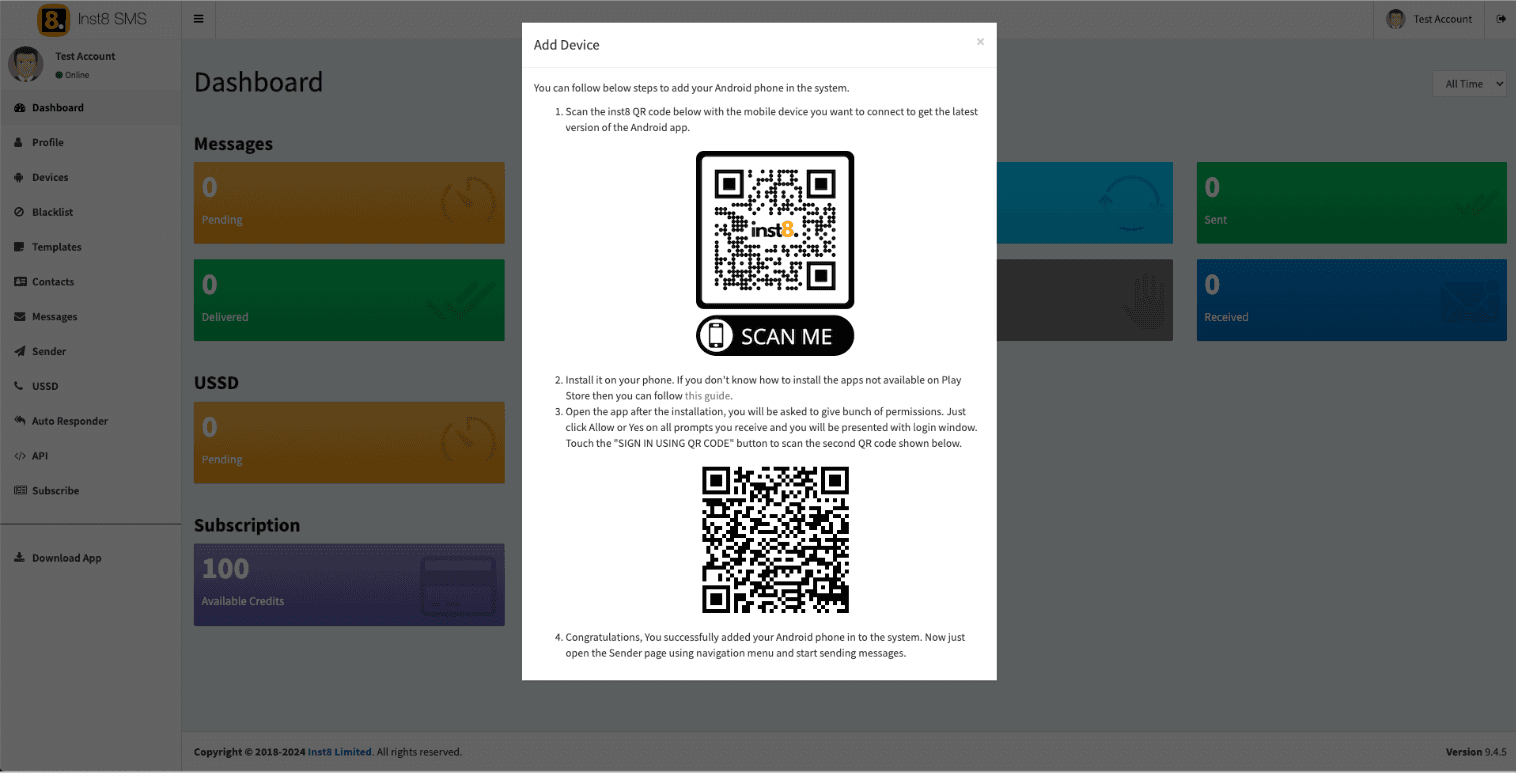
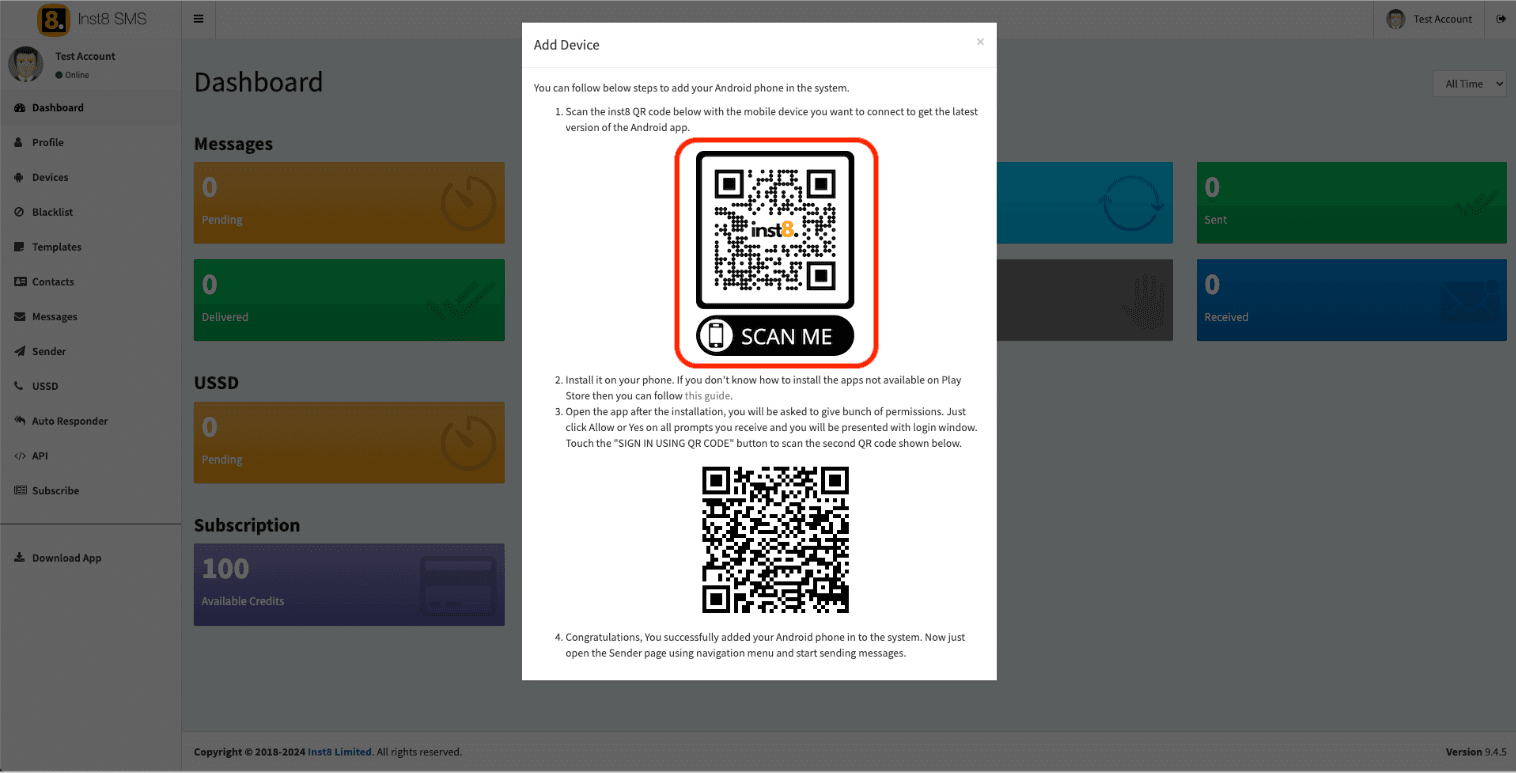
Scan the QR code
On your Android, scan the on-screen QR. It opens a download link for the inst8 mobile app.
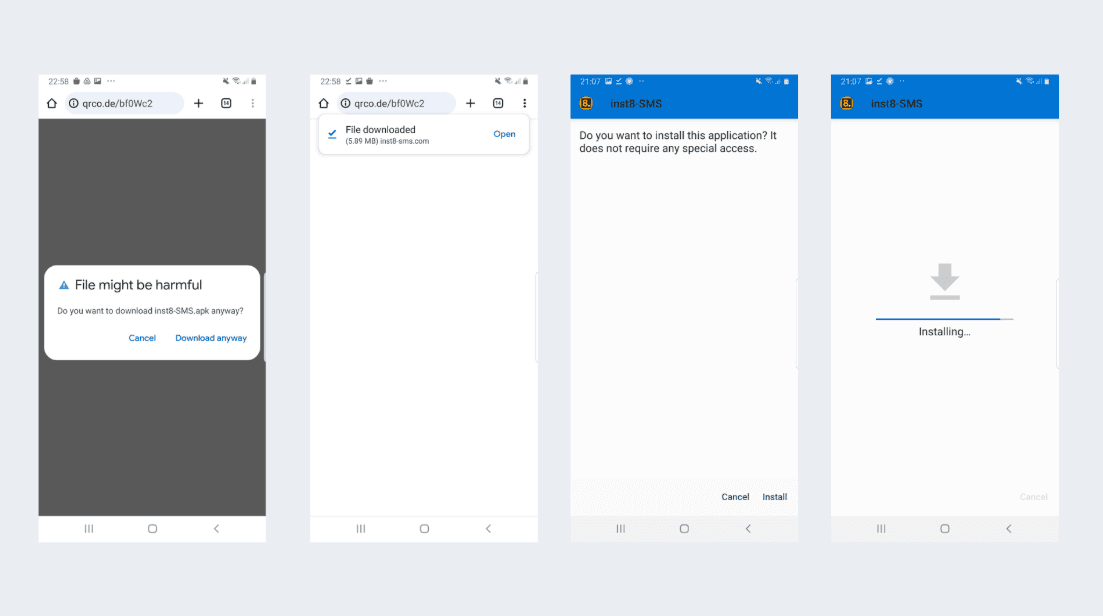
- 6
Install the app
Tap ‘Download anyway’, then ‘Open’, then ‘Install’. Android will warn about installing outside the Play Store — that's expected.
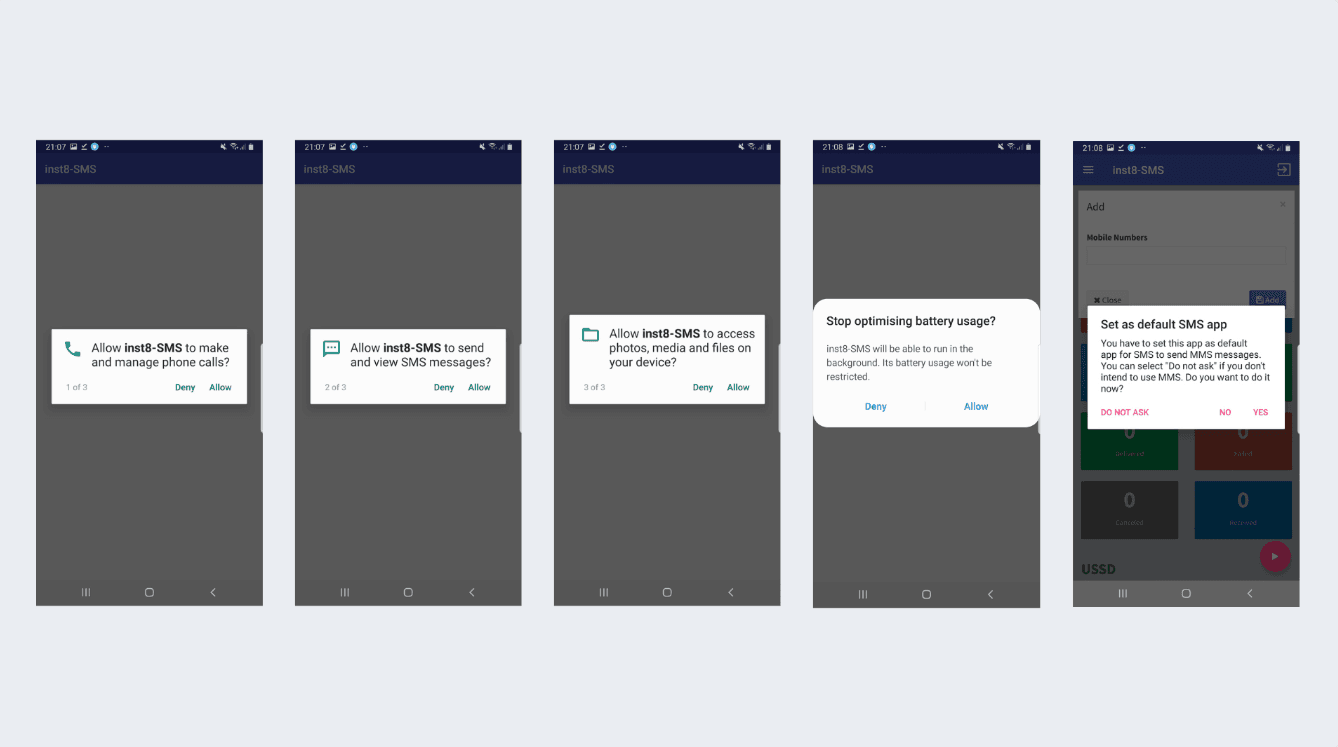
- 7
Grant permissions
Allow the app to make calls, send and view SMS, and access media files. Without these, sending will fail.
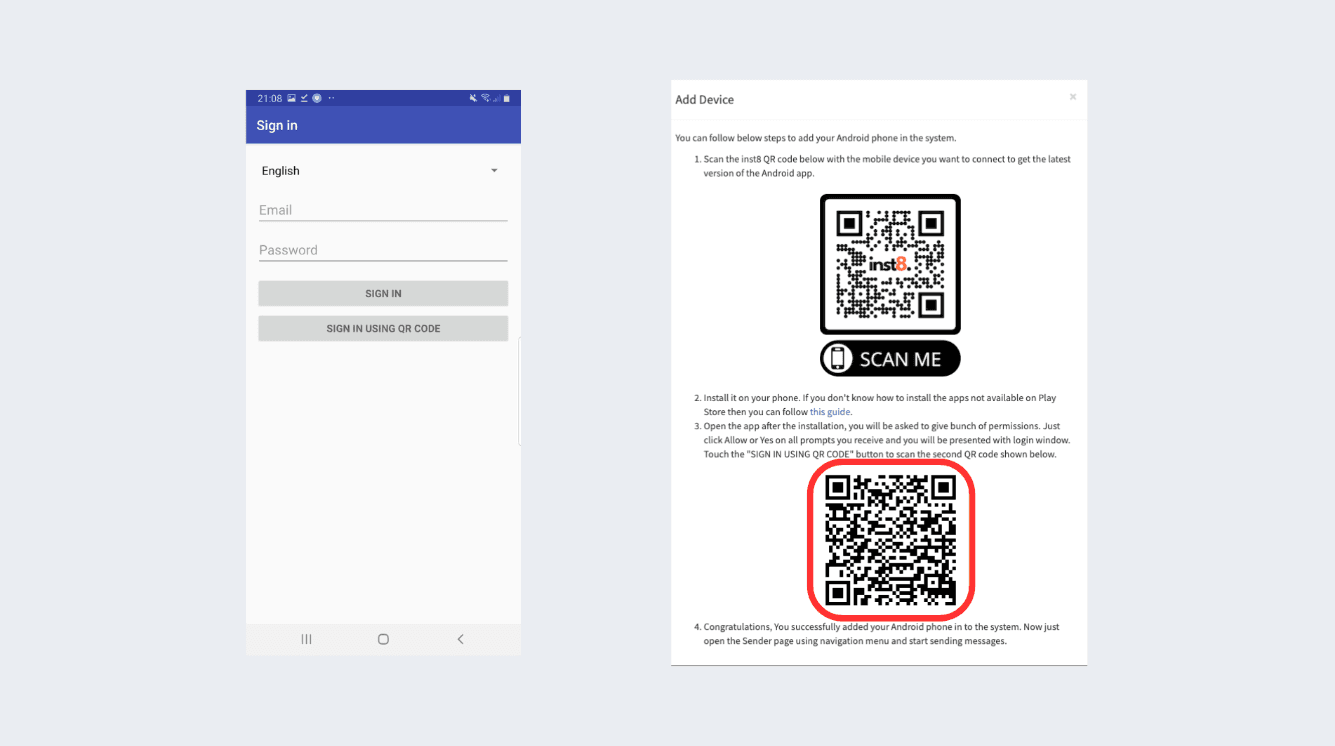
- 8
Pair the device
In the app, choose ‘Sign In Using QR Code’, scan the second QR from the dashboard, enter your mobile number with country code.
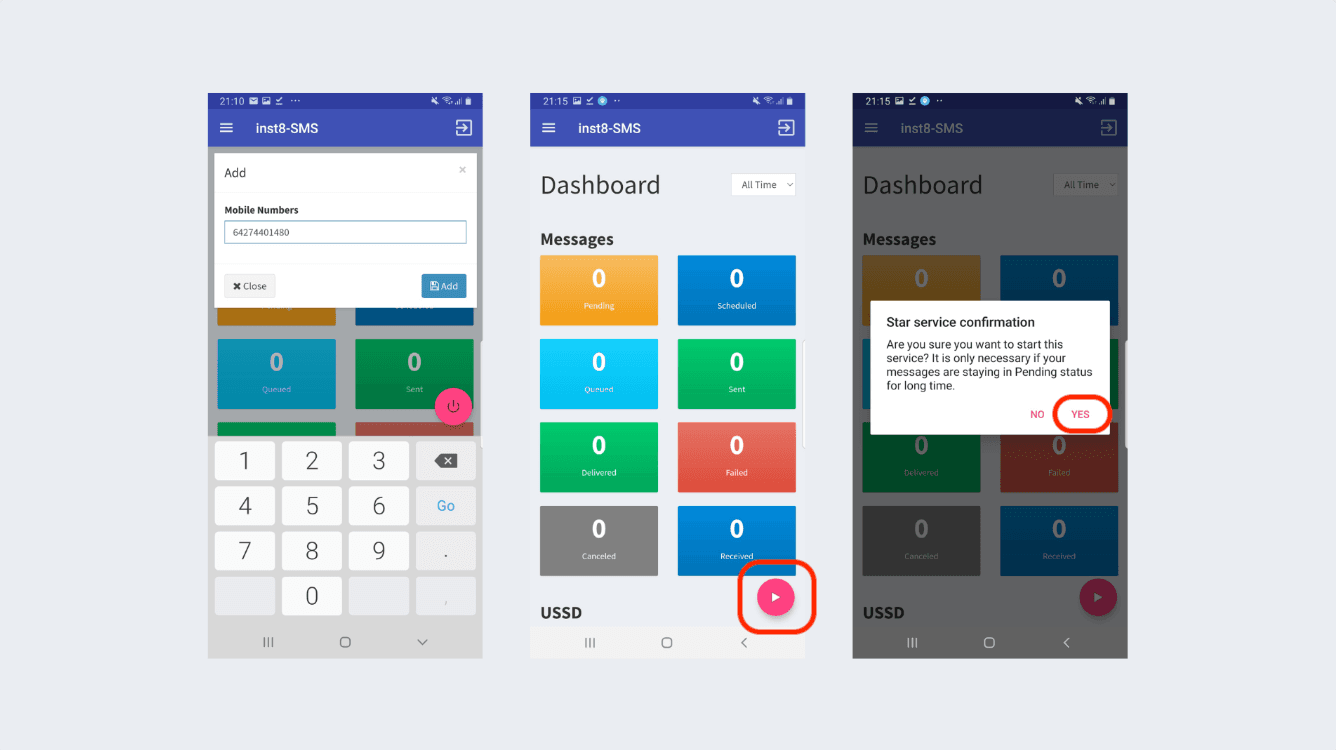
- 9
Start the service
Press the pink Play button on the app dashboard, confirm with ‘YES’. Your device is now live.
- 10
Send a test
From the inst8 dashboard, send a test SMS to your own phone to confirm everything's working.
Troubleshooting
- App won't connect
- Check the phone has internet. Confirm all permissions are granted. Disable battery optimisation for the app. Restart the app, then the phone.
- Messages aren't sending
- Check signal strength. Confirm the SIM has credit. Make sure the SMS service is running (pink Play button on the dashboard).
- App stops in the background
- Settings → Apps → Inst8 SMS → Battery → ‘Don't optimise’ or ‘Unrestricted’. On Xiaomi/Redmi, add it to Lock Apps / Protected Apps.
Still stuck?
Message us on WhatsApp — usually answered in under an hour.